This article aims to teach you guys how to store Blu-ray movies onto Amazon Cloud Drive for Fire Kids Edition or other devices:
“I recently bought a Fire Kids Edition for my grandson. And I have some Disney Blu-ray movies that I want to put onto my Amazon Cloud Drive for playing on this Fire Kids Edition for I bought 8 GB edition. I know that I have to rip Blu-ray to MP4 format but I don’t know how. Do I need a software and how can I rip Blu-ray?”

Kindle Fire HD Kids Edition is the amazing device for children. And from its spec, we know that it just supports MP4, VP8, 3GP, WebM, M4V, 3G2 video. So before you put Blu-ray movies on Amazon Cloud Drive, you should rip Blu-ray to MP4, M4V etc supported by Fire Kids Edition. Here, you can use Pavtube Video Converter Ultimate ( Mac) . This Blu-ray ripping tool can rip any encrypted Blu-ray disc, Blu-ray folder, Blu-ray ISO to MP4/M4V for Fire Kids Edition. For outputting smaller video size, the built-in editor also allows you to extract Blu-ray clips with the very part you want or adjust video bitrate to down the video size.
You can simply download and install Windows version at below:


Other Download:
– Pavtube old official address: http://www.pavtube.cn/blu-ray-video-converter-ultimate/
How to rip Blu-ray to Amazon Cloud Drive with Fire Kids Edition suitable format?
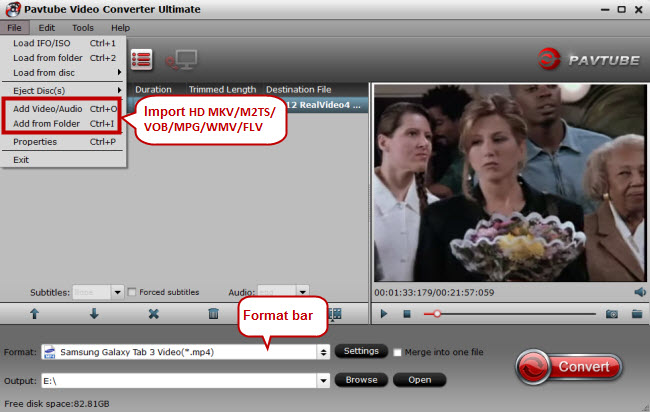
Step 1. Launch the Blu-ray Ripper and click “Load files” to add Blu-ray to the app.

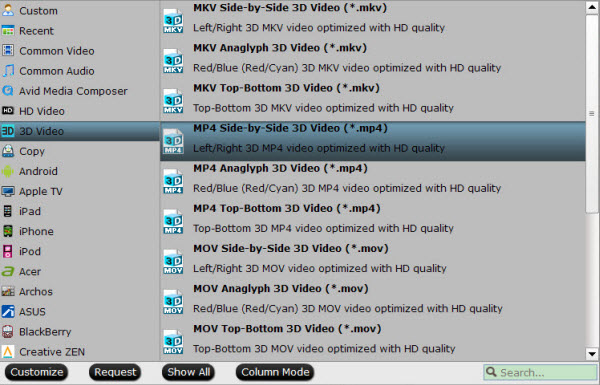
Step 2: Press on “Format”>”Android”>”Amazon Kindle Fire HD(*.mp4)”as the output format.
Tip: To decide the video size, you can use two methods: 1. click “Settings” to down the size and video bitrate; 2. click “Edit” to trim the Blu-ray videos to get the very part you want.

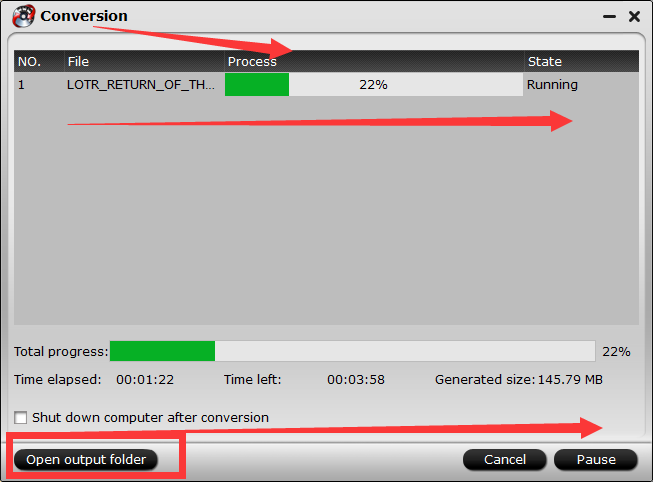
Step 3: Hot on “Start Conversion” to rip Blu-ray to Amazon Cloud Drive for Fire Kids Edition. After the process, open the output folder to locate the ripped Blu-ray movies.
Upload Movie to Amazon Cloud Drive Using the Cloud Drive Website
You can upload your ripped DVD to Amazon Cloud Drive using a compatible web browser. For system requirements, go to About Uploading Files and Folders Using the Cloud Drive Website.
Note:
· The Cloud Drive web uploader requires HTML5, which is supported on Internet Explorer version 10 or greater, Firefox 4, Chrome, Safari (desktop) 6, Safari (mobile) 6.1, Opera (desktop) 12, Opera (mobile) 12, and Android 3. Upgrade to the latest version of your favorite browser to take advantage of the full features of Amazon Cloud Drive.
· At this time, the option to upload entire folders through a web browser is only available for Google Chrome (version 21 and above.)
To upload your files and folders:
1. Go to Amazon Cloud Drive.
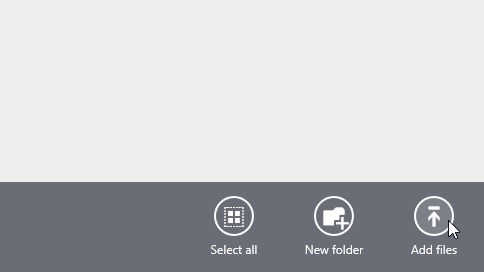
2. Click Add Files.
3. Drag and drop files into the window that opens, or click Select Files to browse your files.
4. Choose a destination folder for your files or create a new folder.
Note: You can move your files into a different folder once your upload is complete.
5. Click Add to [folder name].
Once you have stored Blu-ray to Amazon Cloud Drive, you can log into your Amazon account on Fire Kids Edition. Then you can watch Blu-ray movies on Fire Kids Edition.
Have more questions about Dropbox vs Google Drive, please feel free to contact us>> or leave a message at Facebook
Related Articles;


Comments